I'm taking a beginner sewing class. It's on Sunday afternoons with the talented quilter and owner of Deux Petites Souris. My original motivation for enrolling was a desire to escape my family once a week. Learning to operate a sewing machine was an added bonus.
But after just two classes, I have to say that I'm enjoying sewing more than I thought I would. It is strangely satisfying and addictive to be able to create something with my own two hands.
Armed with my amateur skills, I set out to make my youngest a simple knight costume this morning. His daycare is hosting a medieval ball on Friday and the children will be dressed as knights, lords and princesses. I have to admit, I did not actually use any needles and thread for this project, but my newly acquired measuring and cutting techniques did come in handy. (In my defence, I don't own a sewing machine yet, nor did I feel confident enough to attempt sewing something without my teacher's supervision!)
With a little patience, scissors, felt and adhesive, anyone can make this easy tunic and shield.


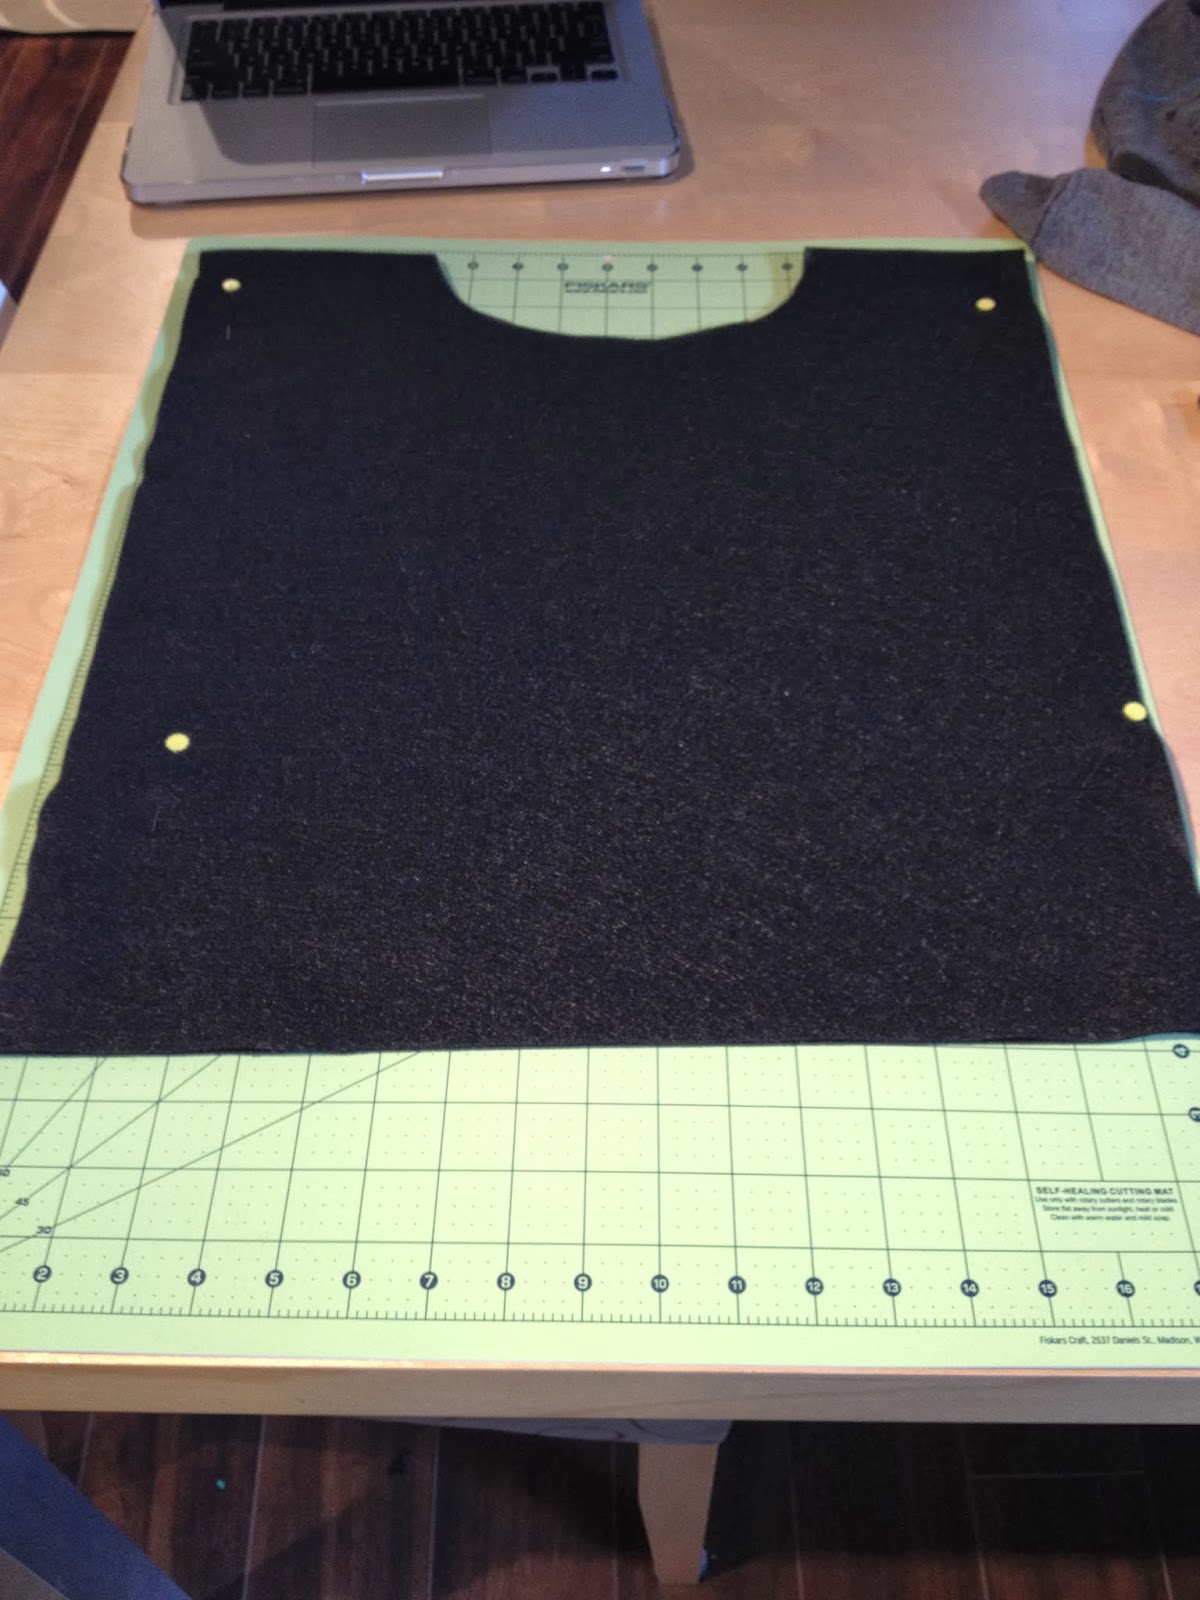
I started with a piece of black felt I purchased at the fabric store. My son is tiny, so I cut a 24 by 40 inch rectangle to make the tunic. (It's enough to cover his torso and his bum when finished.) Then I folded the felt in half and cut out a circle to slip his head through. Easy!
Next I cut a small crest shape onto a grey piece of felt. I used iron-on hem tape to fasten the crest onto the front of the tunic. My son wanted a fierce, yet sparkly lion on his crest. I found a lion image on the web and traced it onto some red glitter felt. Then, I carefully cut it out and used hot glue to attach it to the crest. Why didn't I just iron it on with the hem tape? Well, apparently sparkly felt immediately burns upon contact with high heat. I learned this the hard way when I tried to iron on my lion and melted it to a shriveled clump instead. Wanting to avoid a potential fire, I chose the glue gun on my second attempt. Although, a needle and thread could have worked for this step as well.

I used foam board for the shield. I cut out the shape I wanted and covered it with silver glitter foam (Yes, my little one is obsessed with glitter.) I cut out red foam strips to make the decorative cross. Last, I added foam letters to spell out his name. Did I mention they had glitter on them? My lord is now ready for his ball...

What a handsome Knight! Glad you are enjoying the sewing classes.
ReplyDelete